Initial Steps for Cleaning
Start with the vents before you reach for a screwdriver.
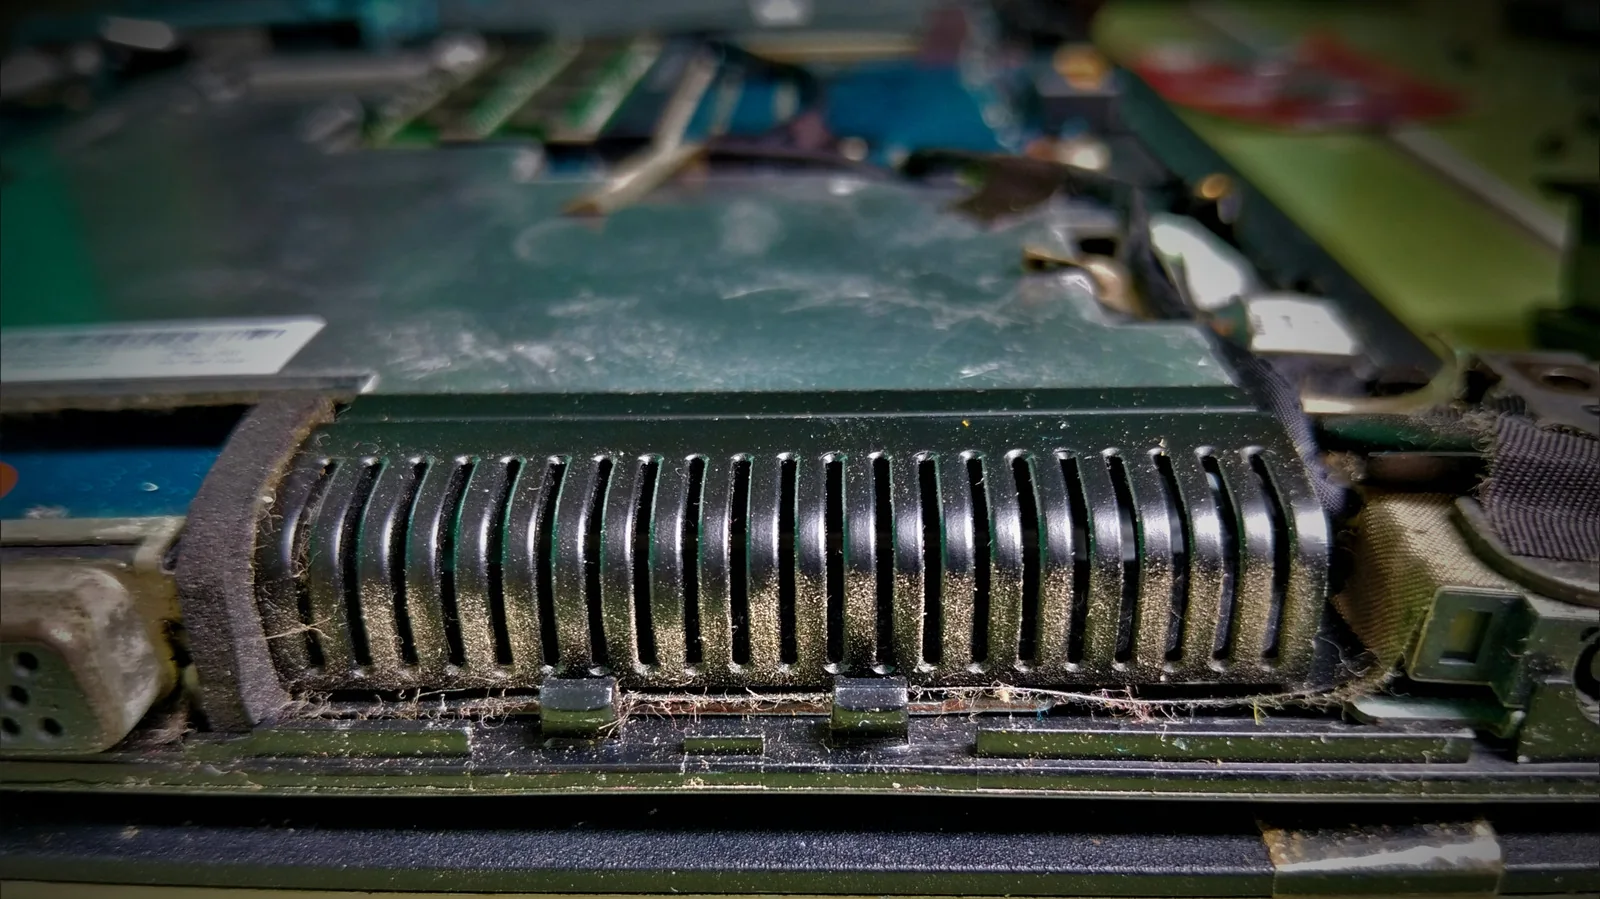
Your laptop fan has probably spent its entire life working inside a cramped chassis, so dust eventually gets an invite. Let too much of it build up around the vents, fan or heat sink and airflow can be hampered. Over time, restricted cooling can result in thermal throttling, which is when the processor reduces its performance to keep temperatures under control.
Fortunately, cleaning a laptop fan doesn't necessarily involve disassembling the laptop. For routine maintenance, turn the laptop off, unplug it and use short bursts of electronics-safe compressed air through the vents. Lenovo recommends cleaning a laptop fan every three to six months, depending on the environment.
When dust is packed deeper inside, it makes sense to open the laptop. But be aware of what you are getting yourself into. Depending on the machine, removing the bottom cover may expose the fan or start an unexpectedly intimate tour of several thousand dollars' worth of electronics.
Cleaning Without Disassembly
Start simple. You may be able to remove most of the loose dust without even touching a screwdriver.
• Turn off the laptop and disconnect all cables and peripherals. If it has an external battery that can be easily removed, take it out as well.
• Find the intake and exhaust vents. Look for vents at the base, sides and around the display hinge. Some laptops hide their exhausts near the hinge, so don't assume that every grille you need will be staring back at you.
• Clean away any loose dust around the vents. For accessible areas, use a lint-free cloth or ESD-safe brush. Do not poke tools deep into the grille.
• Use short bursts of compressed air. Keep the can upright and leave some distance between the nozzle and vent. Excessive air pressure from, say, an air compressor can damage fan blades, though there isn't one universal nozzle distance for every laptop.
• Do not keep blasting the fan continuously. Forcing the fan to spin rapidly isn't a good idea. Use short bursts instead.
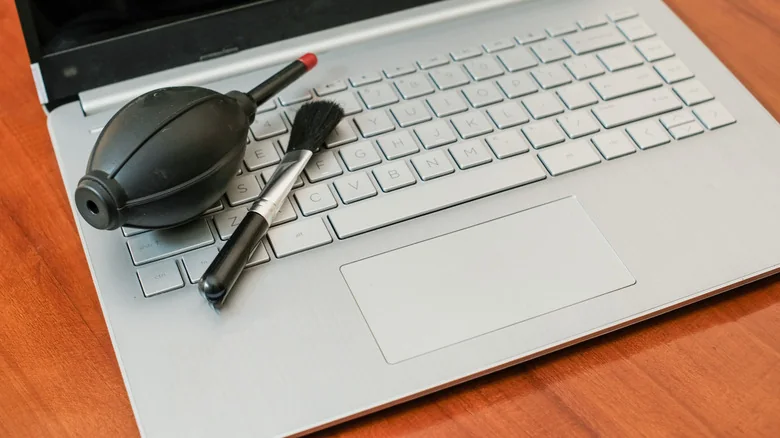
If canned air isn't your preferred method, an ESD-safe brush, non-static cloth or hand-powered bulb blower are other options. And drop the WD-40. Standard WD-40 Multi-Use Product is designed to lubricate, displace moisture and protect against corrosion. That's a completely different issue.
When Disassembly is Necessary
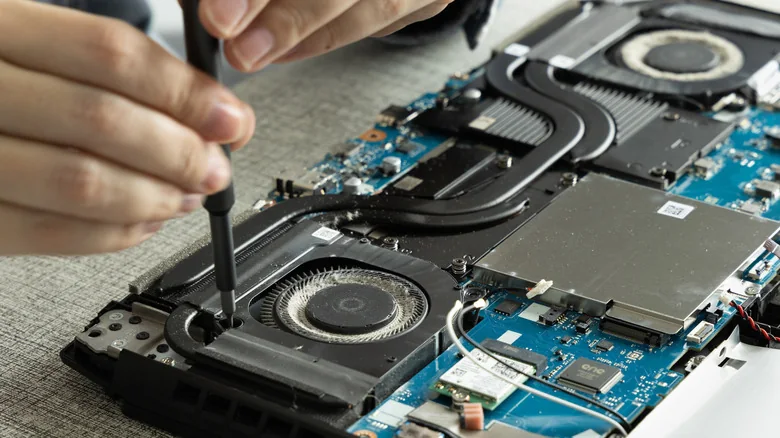
If airflow still appears to be blocked, or you see dust built up inside, removing the bottom panel provides better access. This is also where generic instructions stop being particularly helpful.
On some laptops, the fan is visible and can be removed independently. Others have two fans paired with a shared heat sink or vapor chamber, and if one fan is clean but the other fan, heat sink or exhaust fins are still clogged, cleaning one fan will do little. The fan blades aren't always the only problem either. Dust can build up where air is forced between the closely spaced heat-sink fins.
Before going too deep, check the service manual for your specific model. For instance, Dell's Alienware m16 R2 has separate left and right fan connections, and removing the entire cooling assembly requires taking out six regular screws and loosening six captive heat-sink screws. Dell warns that the procedure is intended for authorized service technicians only.
Some machines take it a step further. The Alienware m16 R1 requires removing the SSDs, wireless card, top heat sink, small fan, rear I/O cover and battery, then following nine system-board removal steps before you can access the fan and heat-sink assembly. The cooling assembly itself is held by eight captive screws. Dell also cautions against cleaning its Element 31 thermal material with an alcohol wipe because it can dissolve the grease into conductive metal particles and could cause an electrical short.
That's the line worth respecting. If the fan requires lifting the heat sink or vapor chamber off the CPU or GPU, you're moving from dusting to a job that might involve thermal paste, pads or other interface material.