Understanding iPhone 18 Pro Aperture
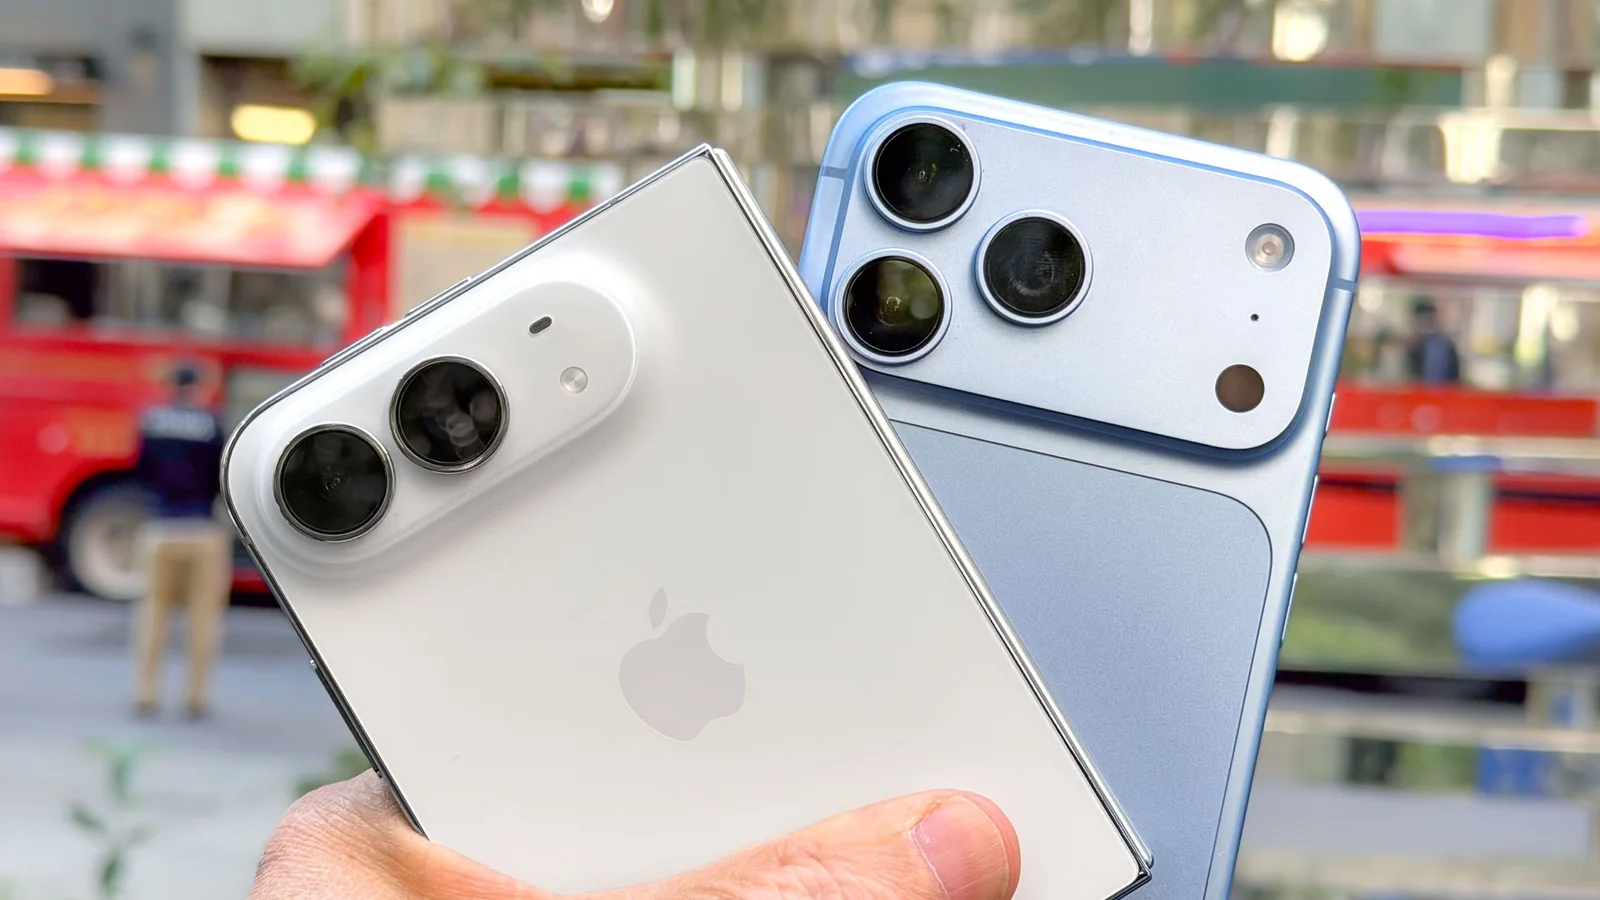
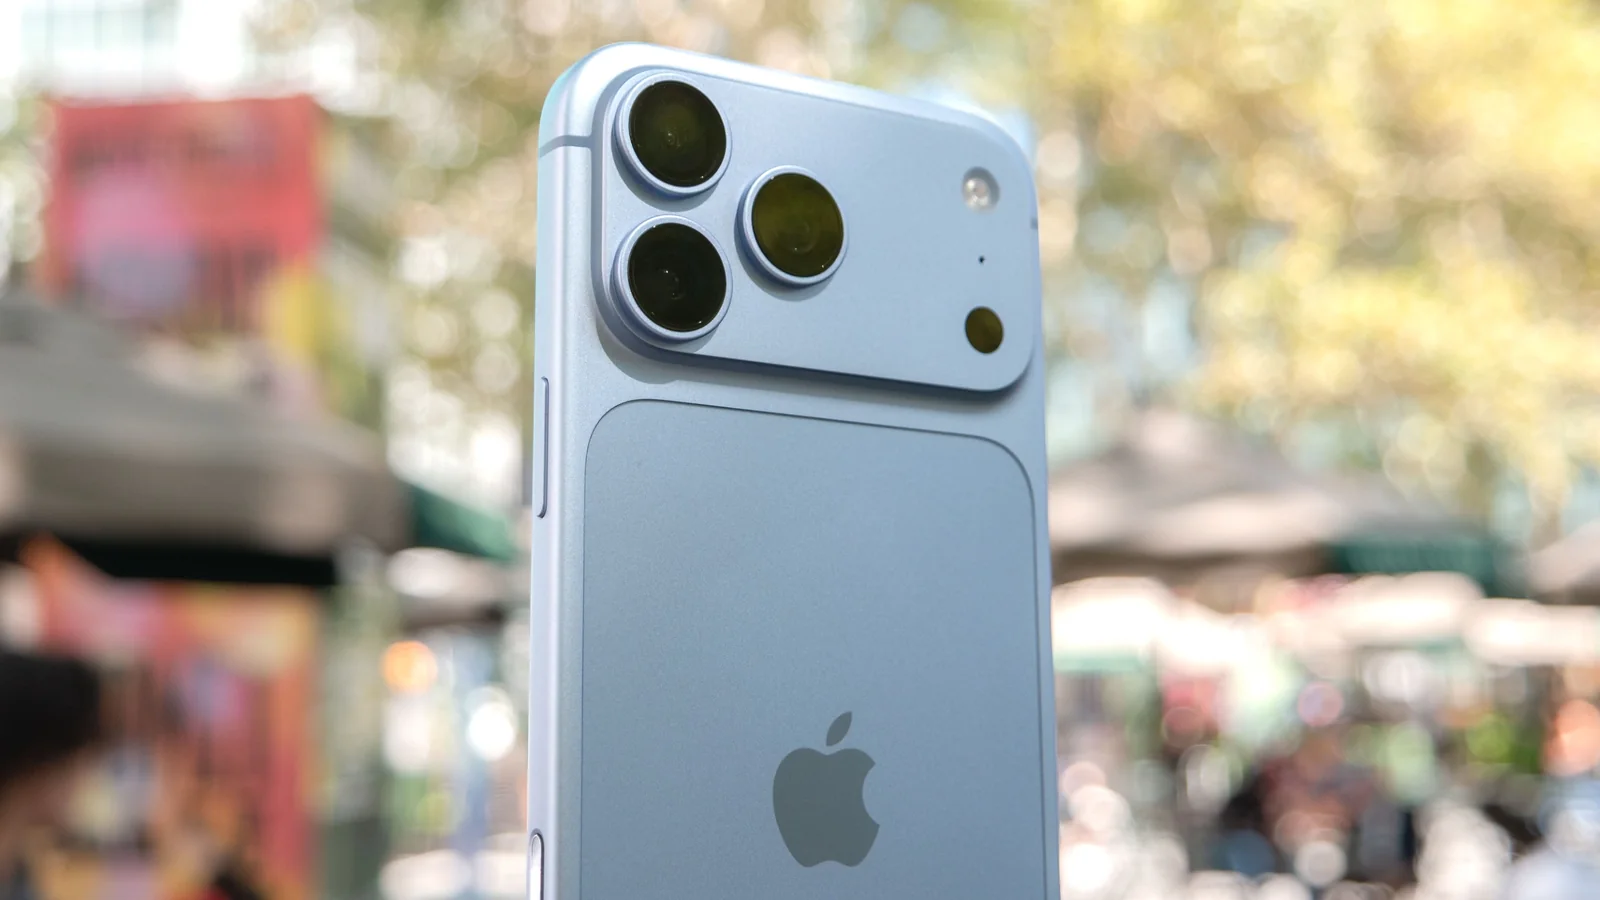
Variable aperture is the standout hardware feature on the iPhone 18 Pro and iPhone 18 Pro Max. Powered by a mechanical iris built from six individual laser-cut blades, this system lets users control how much light actually enters the main camera lens. Taking manual control of this mechanism allows photographers to employ different optical effects and techniques to achieve a desired shot.
Apple does not immediately surface the controls within the standard camera interface, leaving users to discover the functionality on their own despite it being a major selling point for the latest flagship phones.
This guide explains how to operate the iPhone 18 Pro and Pro Max variable aperture system, add quick settings, and utilize different f-stop values for various shooting scenarios.
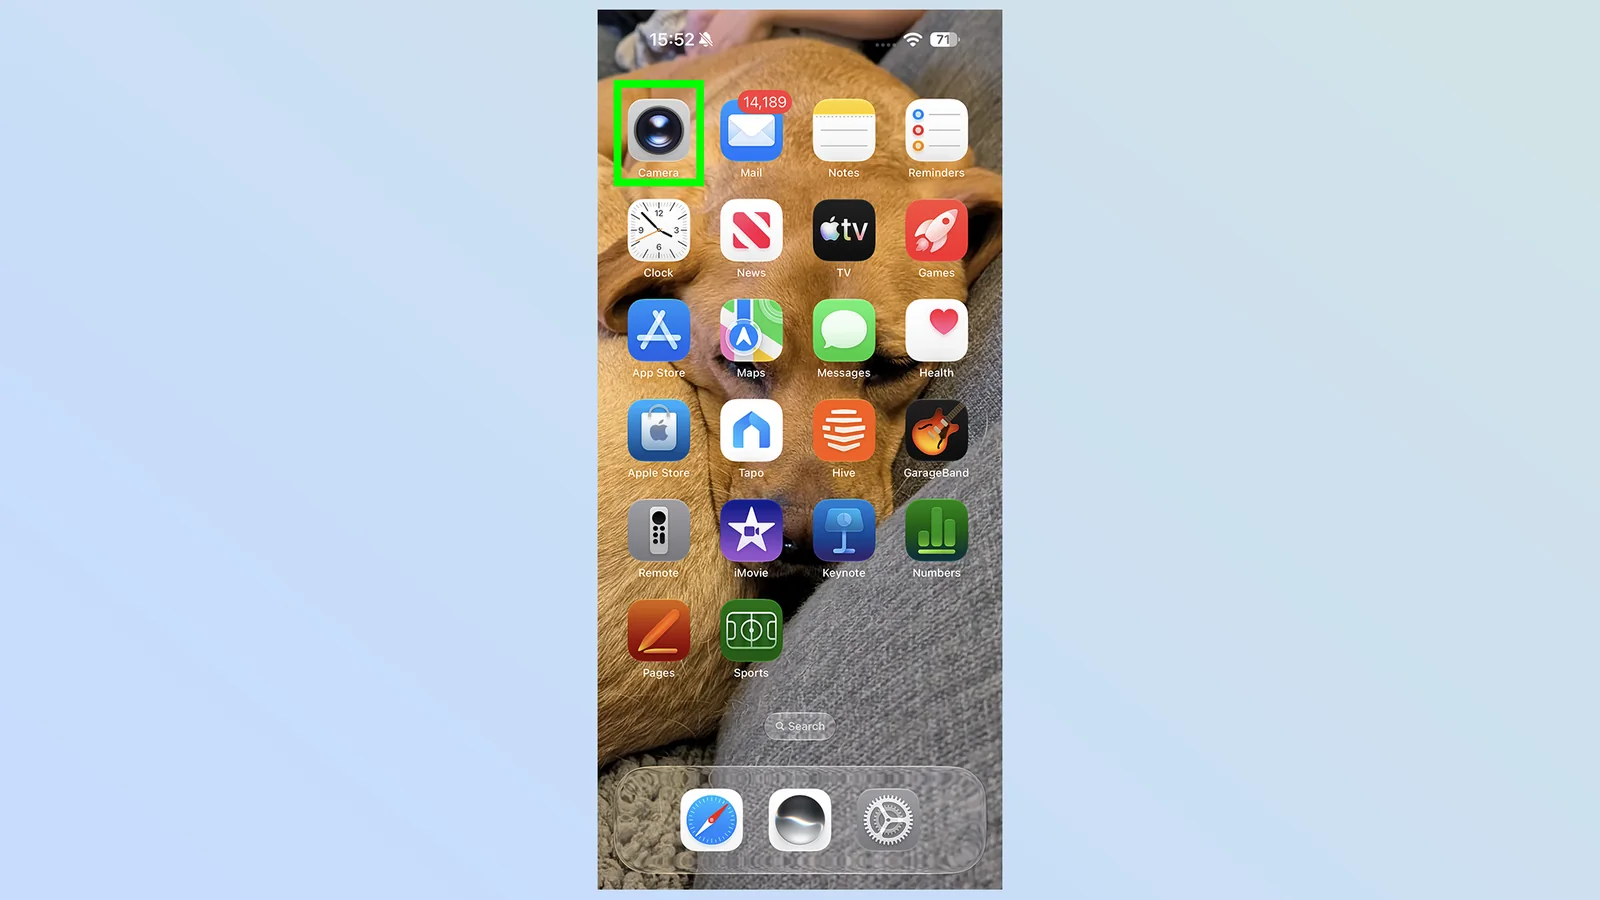
Controlling the Camera System
Launch the main iPhone camera application using the home screen icon, the lock screen shortcut, or the dedicated camera control utility.
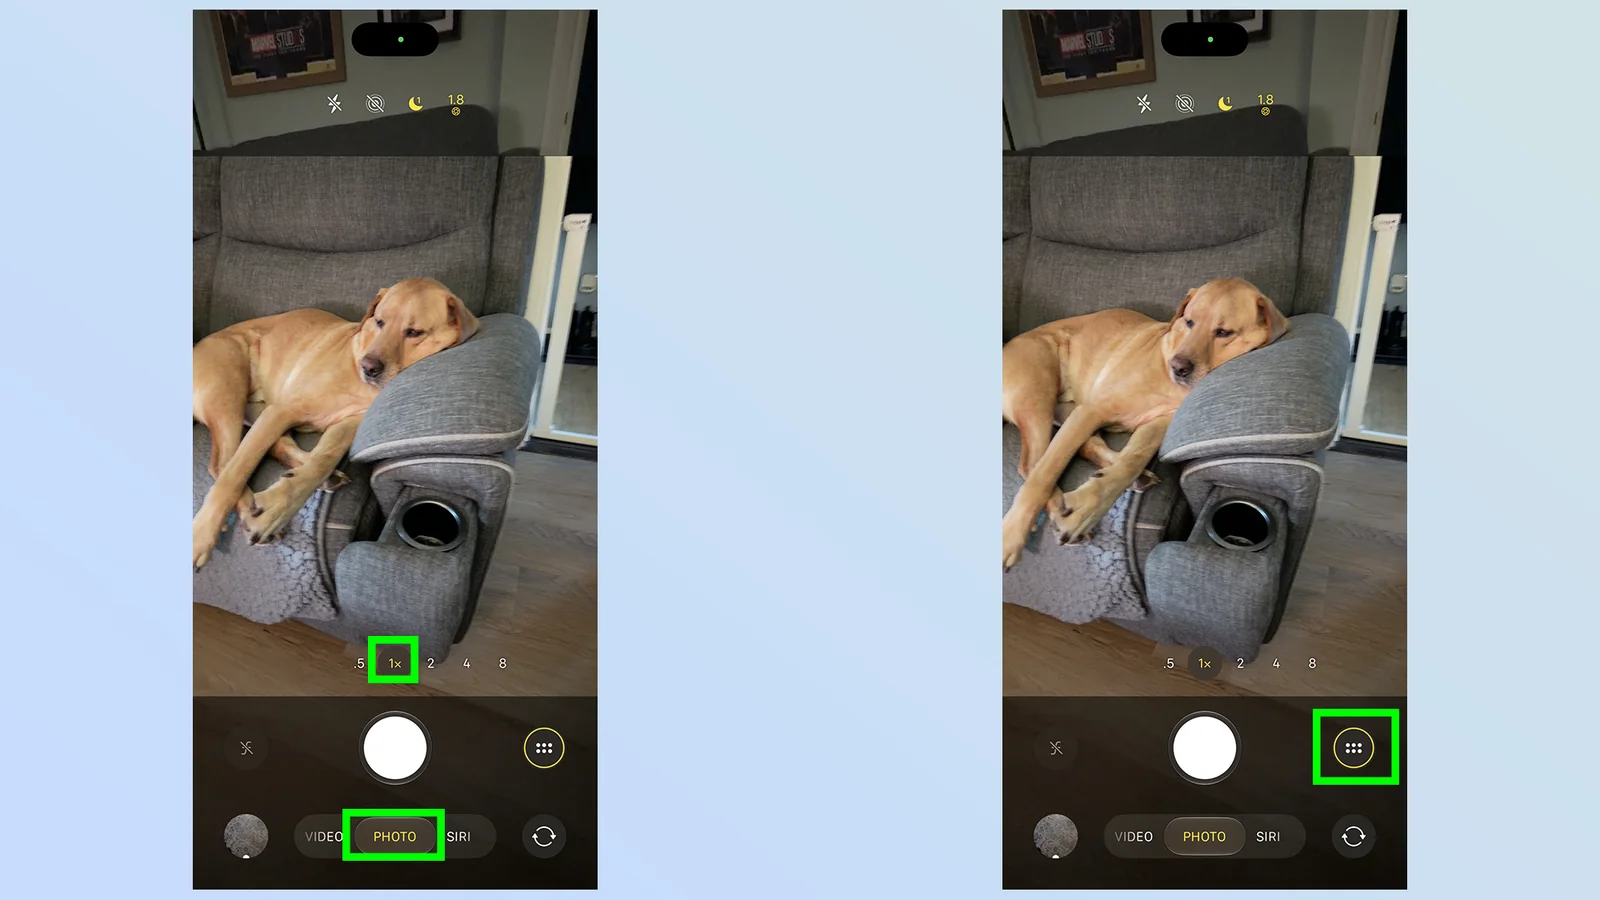
2. Open the camera settings
Verify that your phone is set to capture photos from the main camera lens by checking that the shooting mode is set to Photo and magnification is set to 1x.
Tap the camera settings button located in the bottom right corner of the screen, represented by an icon of two stacked levels of three dots.
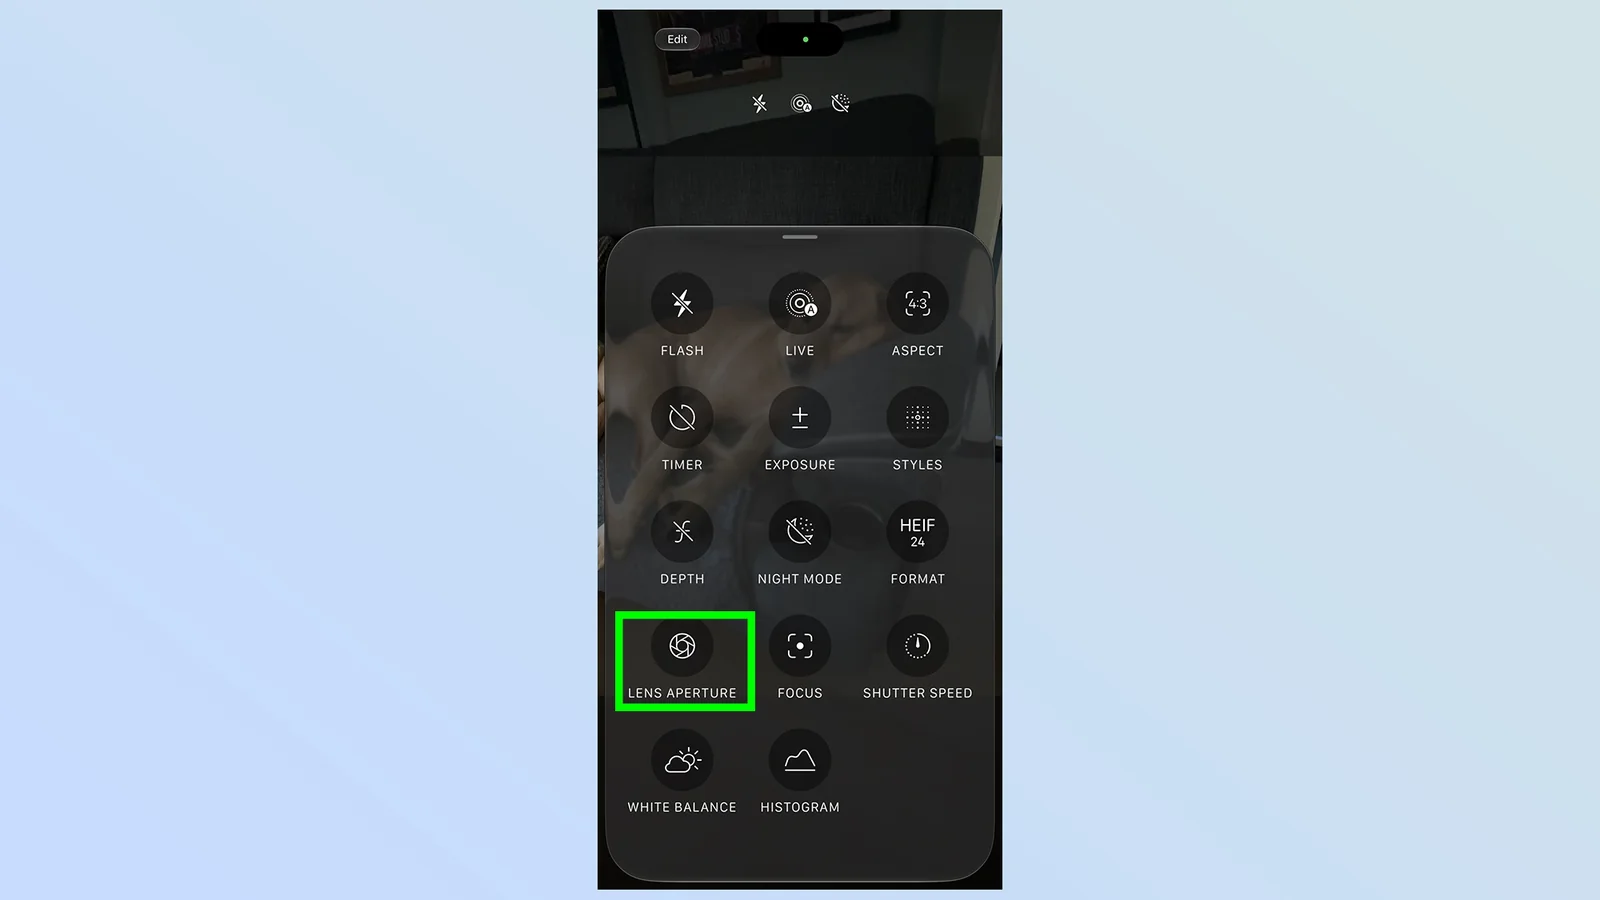
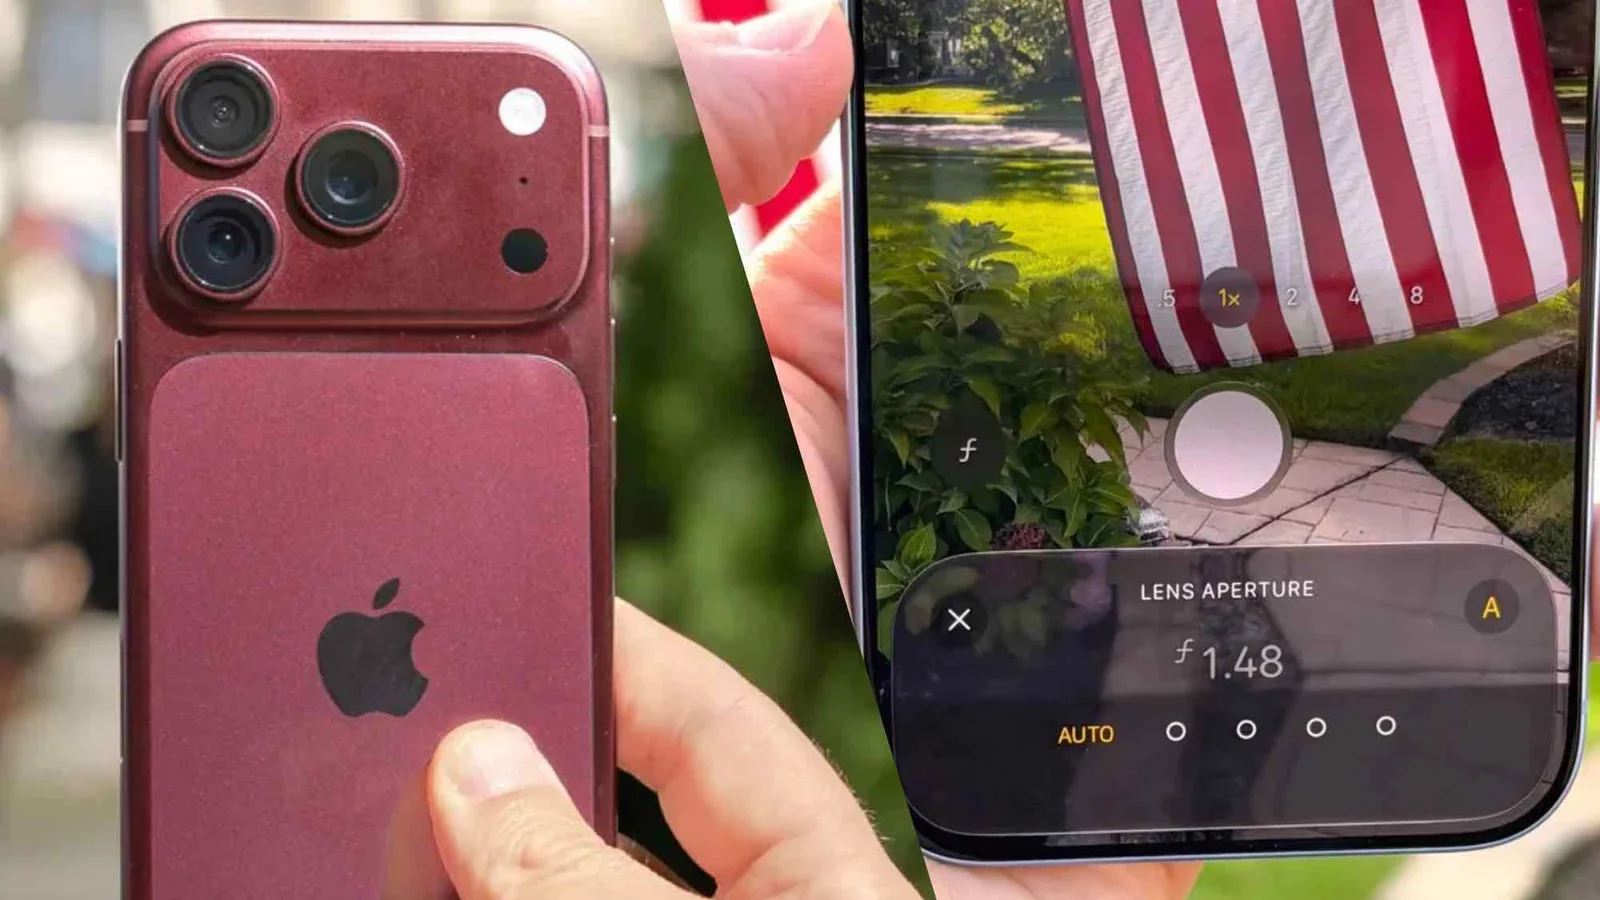
3. Select Lens Aperture
Tap the Lens Aperture option. Because it is positioned on the second level from the bottom by default, you may need to pull the menu upward from the gray dash icon to view it clearly.
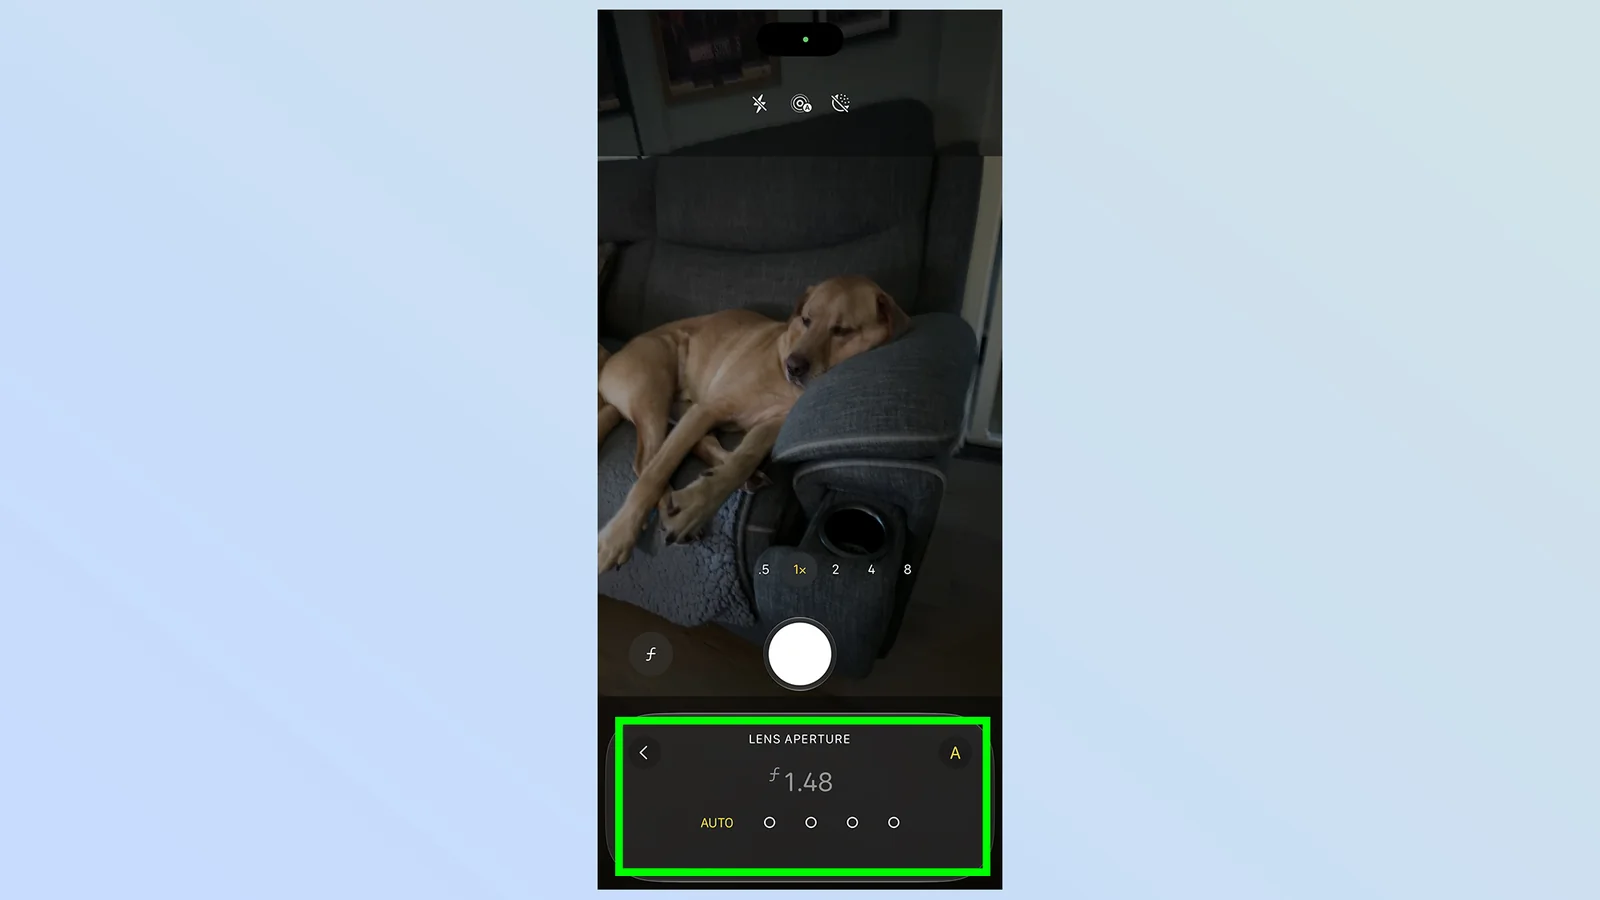
4. Select your chosen aperture level
A menu appears at the bottom of the display allowing you to select one of four specific aperture settings: f/1.48, f/1.8, f/2.8, and f/4.0.
An automatic mode is also available, allowing the device to determine the optimal aperture dynamically. This can be enabled by tapping Auto on the left or the large letter A on the right.
Customizing Quick Settings
For frequent adjustments, you can pin the variable aperture control directly to the camera app's quick settings bar at the top of the screen.
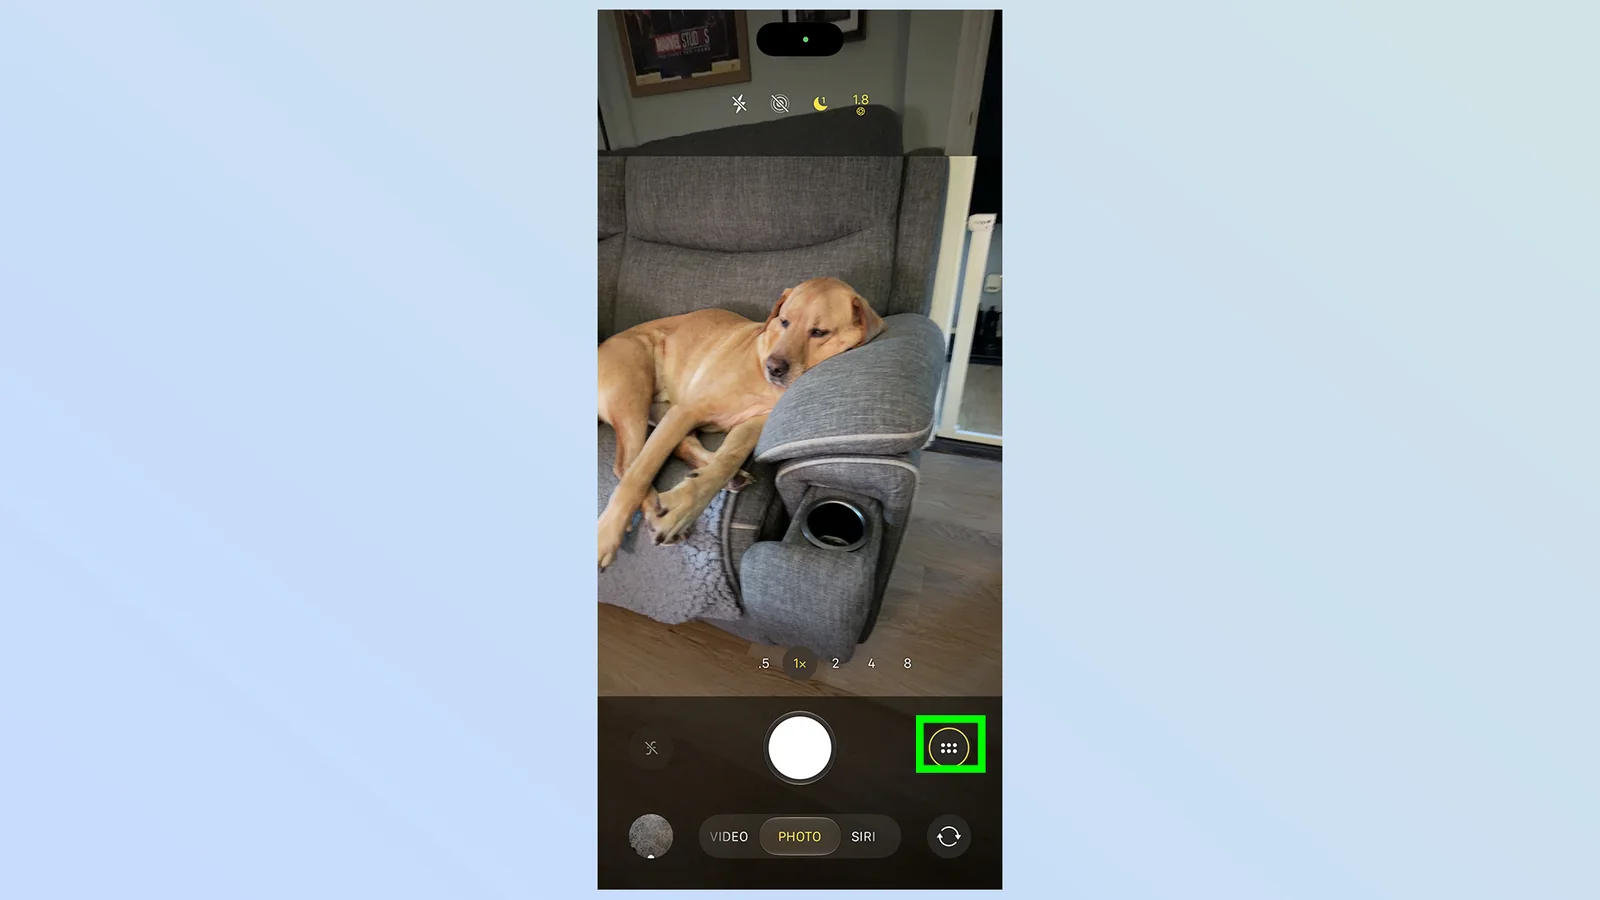
1. Open Camera Settings
Open the camera settings menu by tapping the six-dot button in the bottom right corner of the screen interface.
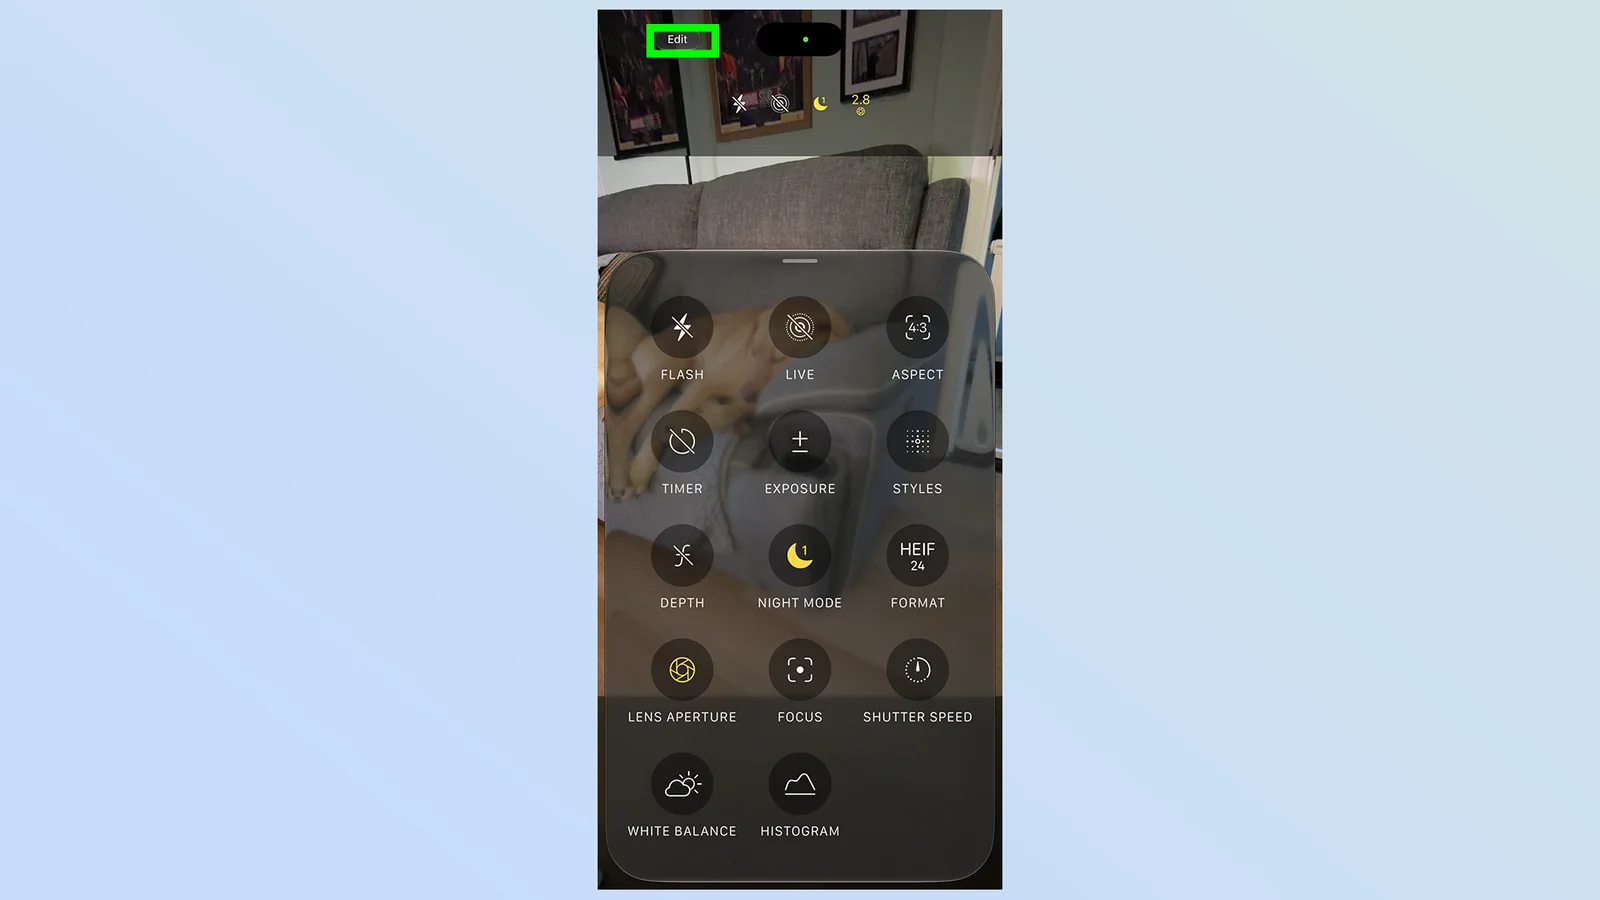
2. Tap "Edit"
Tap the Edit button located near the top of the page.
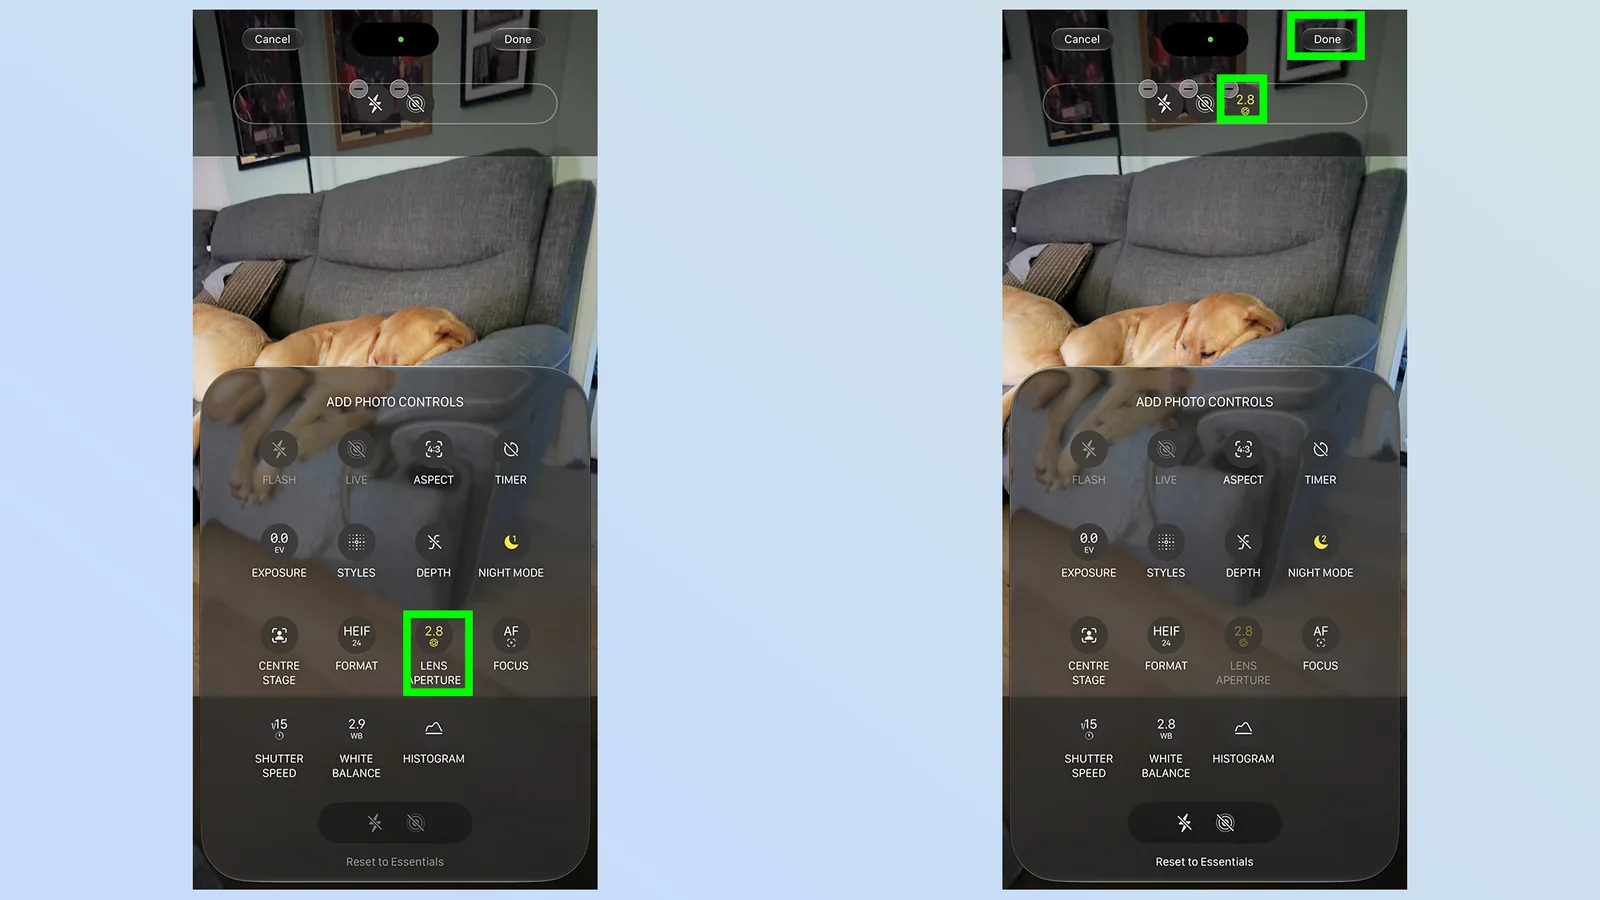
3. Tap the Lens Aperture option
From the feature menu that appears at the bottom of the screen, select the Lens Aperture option to move it to the top toolbar, then tap Done to save your changes.
Once configured, you can access the variable aperture menu instantly by tapping the aperture icon in the quick settings bar at the top of the camera viewfinder.
Benefits of Manual Aperture Control
Understanding f-stop values helps unlock creative photography techniques on your smartphone. Each aperture setting offers distinct optical advantages for different environments.
The wider f/1.48 setting produces a natural optical bokeh effect without relying purely on software algorithms used in standard Portrait Mode.
This wide setting also improves performance in dim lighting by allowing the maximum amount of light to strike the sensor, which reduces exposure times compared to traditional low-light modes and minimizes motion blur when shooting moving subjects.
Conversely, the f/4.0 setting expands the depth of field to ensure edge-to-edge sharpness across the entire image frame, making it ideal for group photos and expansive landscapes where background details matter just as much as foreground elements.
Pairing the f/4.0 setting with longer shutter speeds also facilitates intentional motion blur, keeping stationary subjects sharp while surrounding movement is artistically stylized.